Unlock the Power of Artificial Intelligence, Machine Learning, and Data Science with our Blog
Discover the latest insights, trends, and innovations in Artificial Intelligence (AI), Machine Learning (ML), and Data Science through our informative and engaging Hubspot blog. Gain a deep understanding of how these transformative technologies are shaping industries and revolutionizing the way we work.
Stay updated with cutting-edge advancements, practical applications, and real-world use.
Wednesday, 18 March 2026
Creating a Secure Machine Learning API with FastAPI and Docker
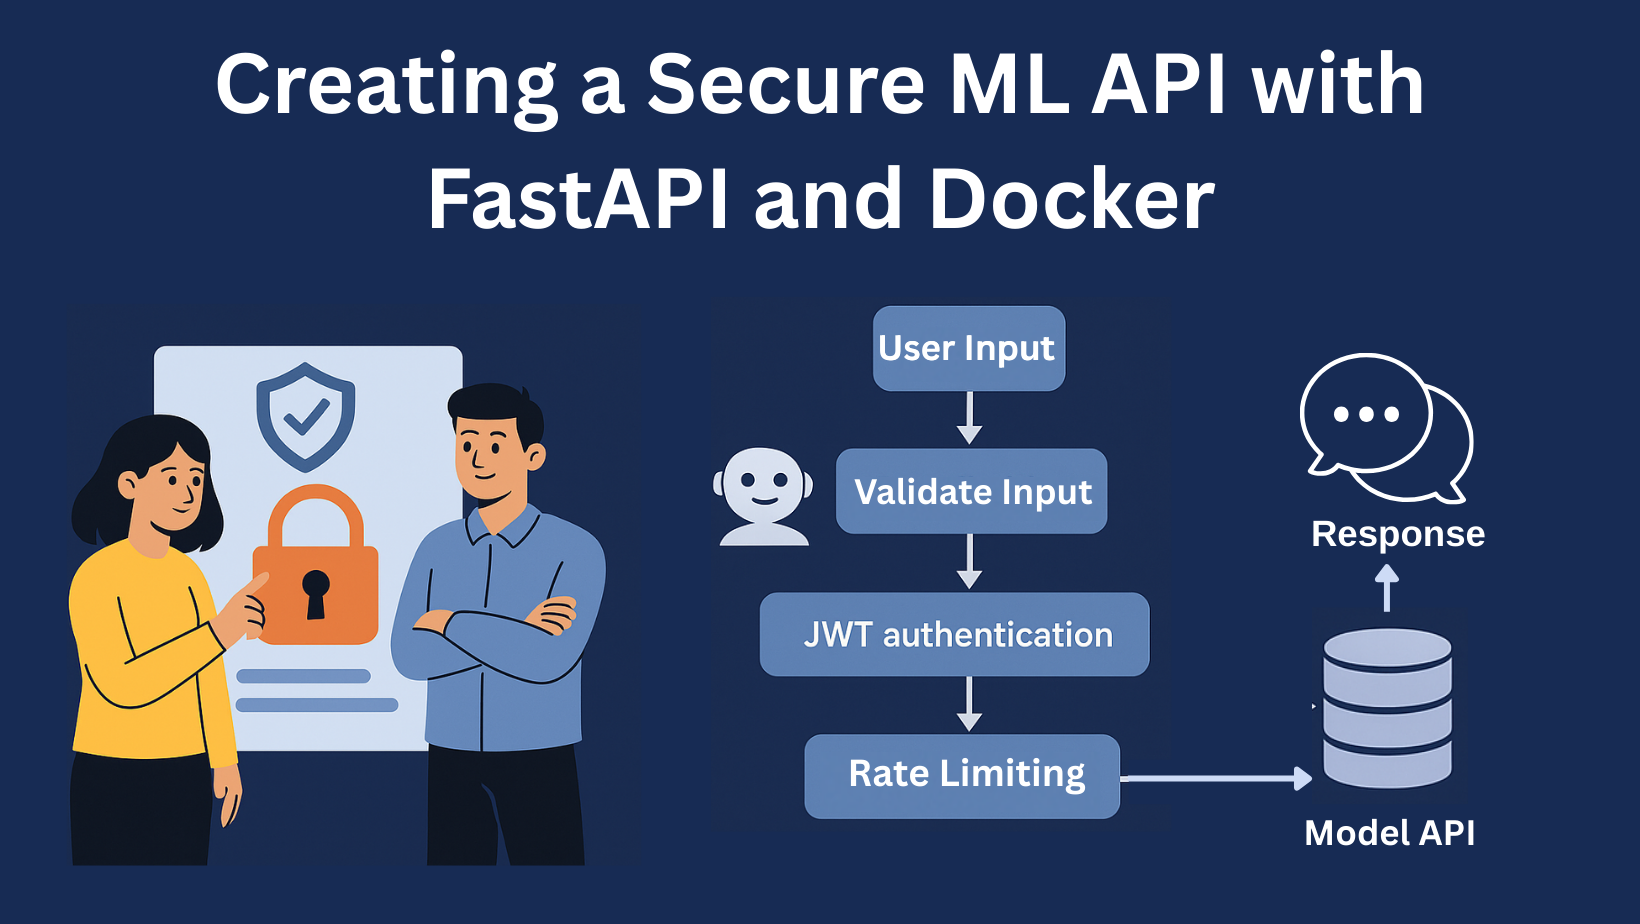
Image by Author | Canva
Machine learning models deliver real value only when they reach users, and APIs are the bridge that makes it happen. But exposing your model isn’t enough; you need a secure, scalable, and efficient API to ensure reliability. In this guide, we’ll build a production-ready ML API with FastAPI, adding authentication, input validation, and rate limiting. This way, your model doesn’t just work but works safely at scale.
In this guide, I’ll walk you through building a secure machine learning API. We’ll cover:
Building a fast, efficient API using FastAPI
Protecting your endpoints using JWT (JSON Web Token) authentication
Make sure the inputs to your model are valid and safe
Adding rate limiting to your API endpoints to guard against misuse or overload
Packaging everything neatly with Docker for consistent deployment
The project structure will look somewhat like this:
secure-ml-API/
├──app/
│├──main.py# FastAPI entry point
│├──model.py# Model training and serialization
│├──predict.py# Prediction logic
│├──jwt.py# JWT authentication logic
│├──rate_limit.py# Rate limiting logic
│├──validation.py# Input validation logic
├──Dockerfile# Docker setup
├──requirements.txt# Python dependencies
└──README.md# Documentation for the project
Let’s do everything step by step.
Step 1: Train & Serialize the Model (app/model.py)
To keep things simple, we’ll use a RandomForestClassifier on the Iris dataset. The RandomForestClassifier is a machine-learning model that classifies things (e.g., flowers, emails, customers). In the Iris flower dataset:
Input: 4 numbers (sepal & petal length/width)
Output: Species (0=Setosa, 1=Versicolor, or 2=Virginica)
RandomForest checks patterns in the input numbers using many decision trees and returns the flower species that is likely based on those patterns.
# Function to train the model and save it as a pickle file
def train_model():
iris=load_iris()
X,y=iris.data,iris.target
clf=RandomForestClassifier()
clf.fit(X,y)
# Save the trained model
with open("app/model.pkl","wb")asf:
pickle.dump(clf,f)
if__name__=="__main__":
train_model()
Run this script to generate the model.pkl file.
Step 2: Define Prediction Logic (app/predict.py)
Now let’s create a helper that loads the model and makes predictions from input data.
import pickle
import numpy asnp
# Load the model
with open("app/model.pkl","rb")asf:
model=pickle.load(f)
# Make Predictions
def make_prediction(data):
arr=np.array(data).reshape(1,-1)# Reshape input to 2D
returnint(model.predict(arr)[0])#Return the predicted flower
The function expects a list of 4 features (like [5.1, 3.5, 1.4, 0.2]).
Step 3: Validate the Input (app/validation.py)
FastAPI provides automatic input validation using the Pydantic model. This model will verify that incoming features are properly formatted. It also verifies that they are numeric values within the appropriate ranges before processing.
from pydantic import BaseModel,field_validator
from typing import List
# Define a Pydantic model
classPredictionInput(BaseModel):
data:List[float]
# Validator to check if the input list contains 4 values
@field_validator("data")
@classmethod
def check_length(cls,v):
iflen(v)!=4:
raise ValueError("data must contain exactly 4 float values")
returnv
# Provide an example schema for documentation
classConfig:
json_schema_extra={
"example":{
"data":[5.1,3.5,1.4,0.2],
}
}
Note: STEP 4-5 ARE OPTIONAL & ONLY FOR SECURITY PURPOSES
Step 4: Add JWT Authentication (app/jwt.py)
JWT (JSON Web Tokens) offers a safer authentication than simple token-based authentication. JWT allows for a more robust system where claims (user data, expiration, etc.) are embedded in the token. A shared secret or public/private key pair is used for verification.
Step 5: Protect Your API with Rate Limiting (app/rate_limit.py)
Rate limiting protects your API from being overused. It limits how many times each IP can send requests in a minute. I added this using middleware.
The RateLimitMiddleware checks the IP of each request, counts how many came in the last 60 seconds, and blocks the rest if the limit (default 60/min) is hit. It is also called the throttle rate. If someone crosses the limit, they get a “429 Too Many Requests” error.
import time
from fastapi import Request,HTTPException
from starlette.middleware.base import BaseHTTPMiddleware
import time
from fastapi import Request,HTTPException
from starlette.middleware.base import BaseHTTPMiddleware
For that, first, get the JWT by running the following command:
curl-XPOST http://localhost:8000/token
Copy the access token and run the following command:
curl-XPOST http://localhost:8000/predict \
-H"Content-Type: application/json"\
-H"Authorization: Bearer PASTE-TOKEN-HERE"\
-d'{"data": [1.5, 2.3, 3.1, 0.7]}'
You should receive a prediction like:
{"prediction":0}
You can try different inputs to test the API.
Conclusion
Deploying ML models as secure APIs requires careful attention to authentication, validation, and scalability. By leveraging FastAPI’s speed and simplicity alongside Docker’s portability, you can create robust endpoints that safely expose your model’s predictions while protecting against misuse. This approach ensures your ML solutions are not just accurate but also reliable and secure in real-world applications.


No comments:
Post a Comment